Starlink Gen3 Permanent Install — Roof, Mast, and Cable Routing
If the Gen3 is staying on the roof for a decade, this is the install path. Aluminium mounts, IP67 cable runs, and the photos that actually show the failure modes.

The Gen3 Standard dish (sometimes branded V3) is the rectangular, motorless Starlink most homes own today. It's lighter than the original V2 actuated dish, more aerodynamic, and rated for 110 mph sustained wind on the right mount. "On the right mount" is the full content of this guide — Starlink's first-party plastic kits flex and fatigue, and we've rebuilt enough installs to know which mounting paths last and which don't.
If you're doing a permanent install — house roof, cabin, fixed-mast RV — read this. If you're going semi-permanent (RV roof rack, marine arch), check the Mini guide instead; the Mini is genuinely better for those use cases despite the Gen3 having more raw bandwidth.
Aluminium beats plastic, every time
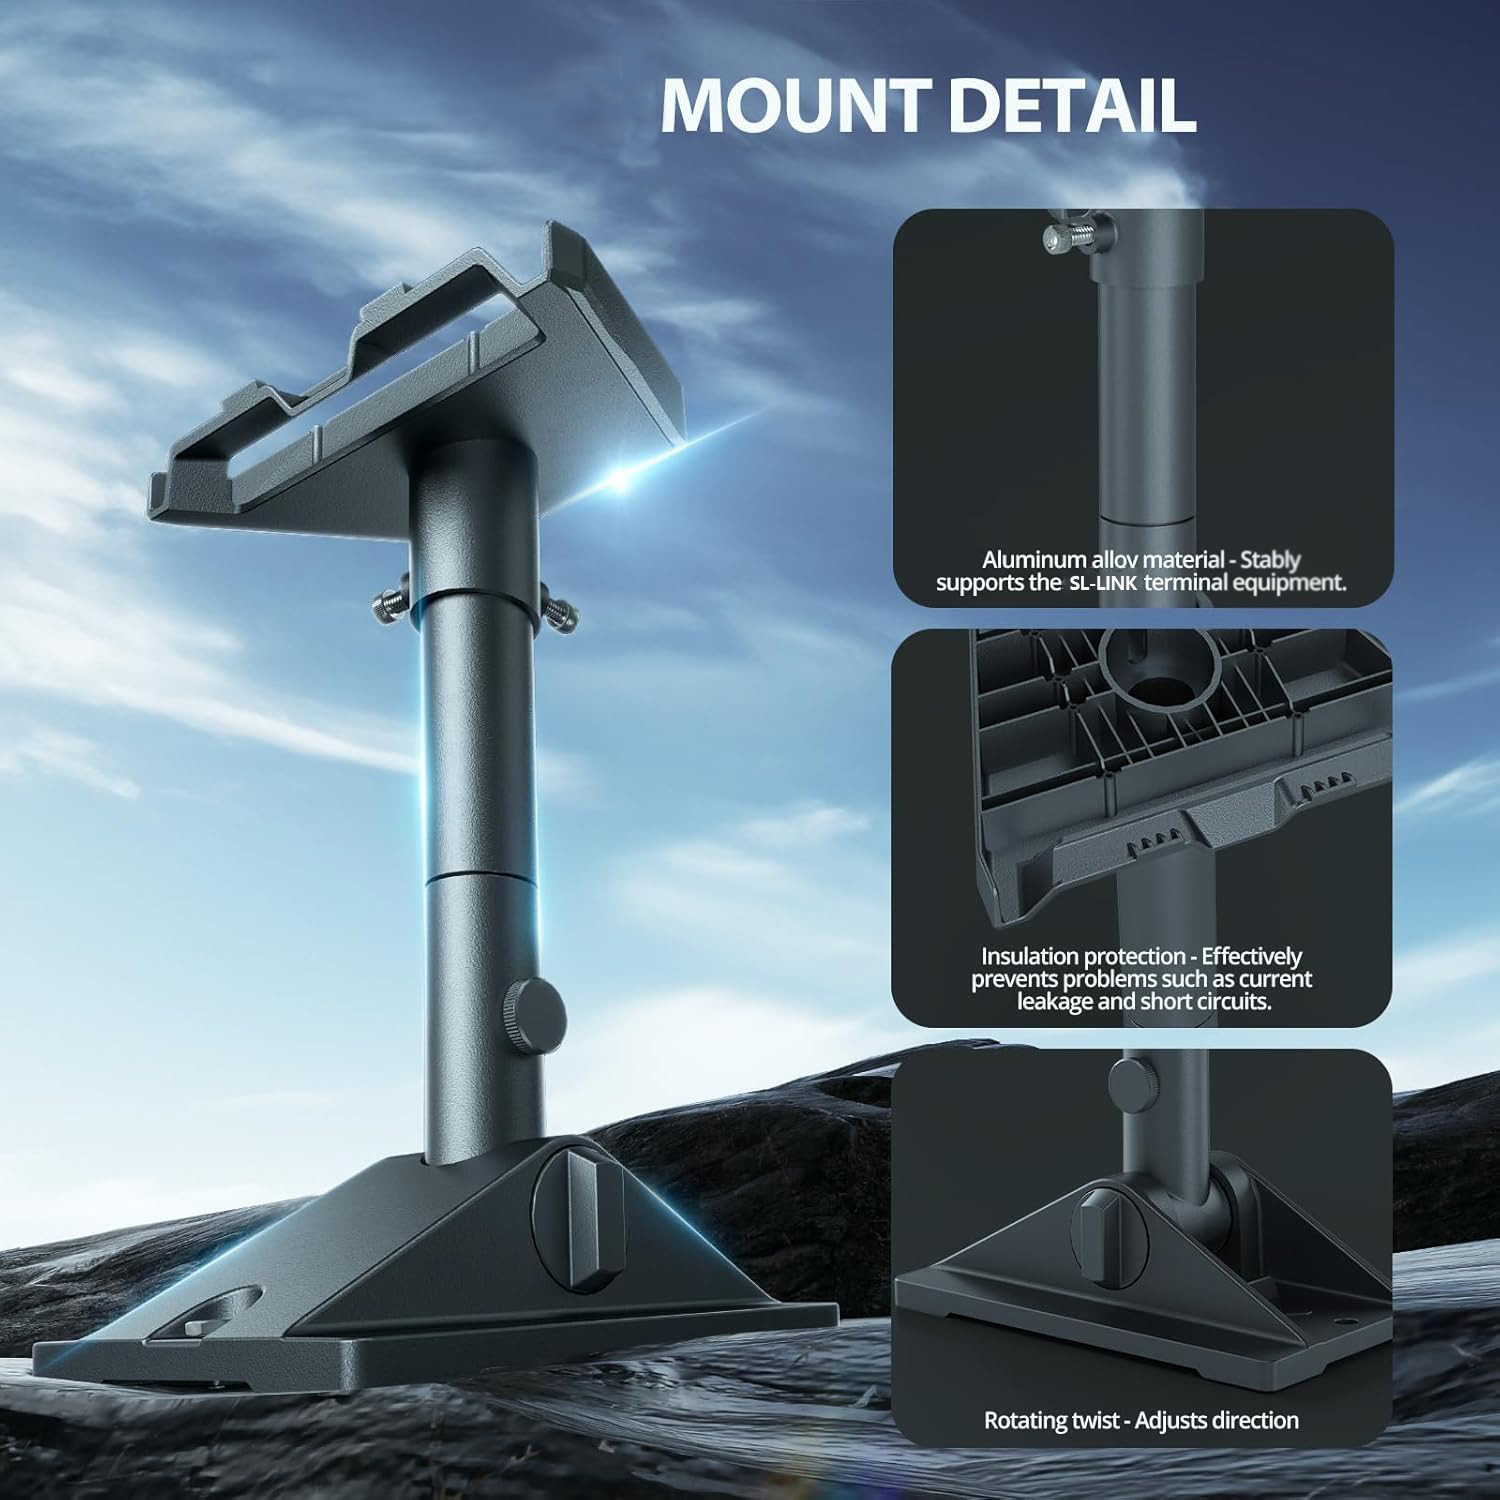
Starlink's bundled "kickstand" mount is plastic, not weather-rated, and develops UV cracks within 18 months in southern climates. Replace it. A 6061-T6 anodised aluminium roof clamp survives 5+ years in coastal sun, doesn't gall under load, and clears the dish for full sky view at the same height.
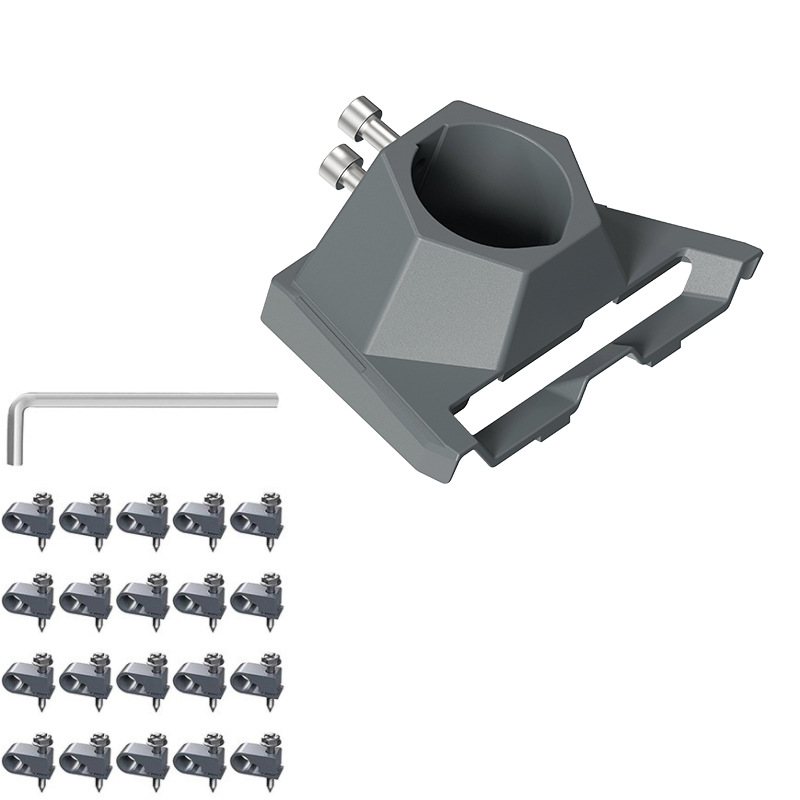
Two aluminium options matter: the standard kickstand replacement (no-drill, clamps to the roof rib), and the pipe / pole adapter for chimneys, masts, or vertical rails. Use the pipe adapter for any install where you'd otherwise be running screws into siding.

Cable: the real failure point

Starlink replaced the proprietary V1 cable with a standard SXR cable on Gen3, but factory units ship with only a 50 ft / 15 m run. If your dish-to-router distance is longer than that — and it almost always is on a permanent install — you'll need a longer replacement cable. We stock 6 lengths from 5 m to 50 m, all factory-spec, all IP67.
Don't splice. Don't use Ethernet adapters in series. The cable carries DC power and high-frequency data on the same conductors; a couple of dB of loss across a junction will drop your throughput by a third. Buy the right length once.
When you need wired Ethernet downstream
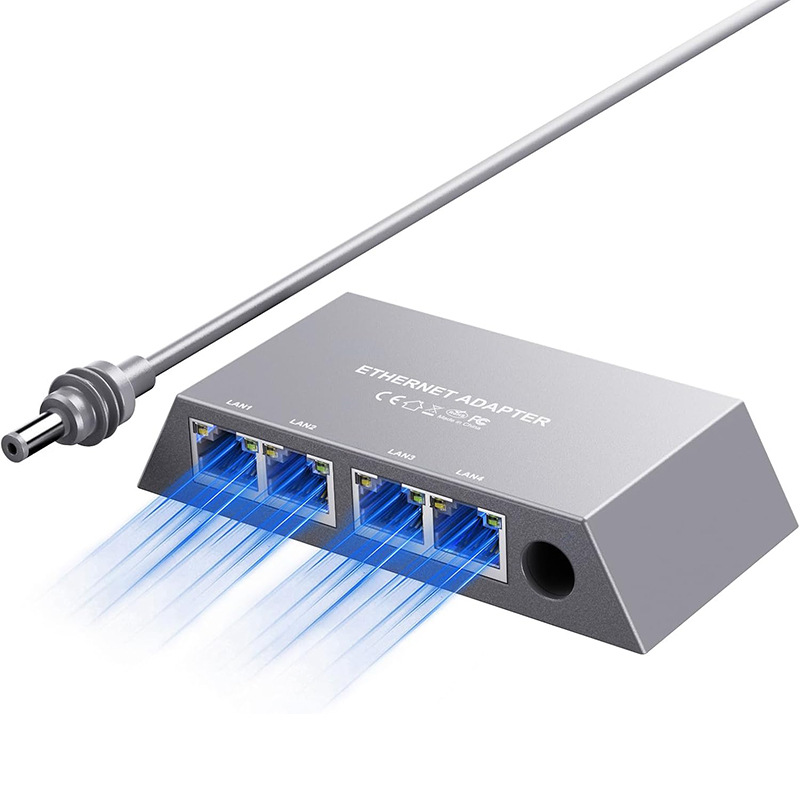
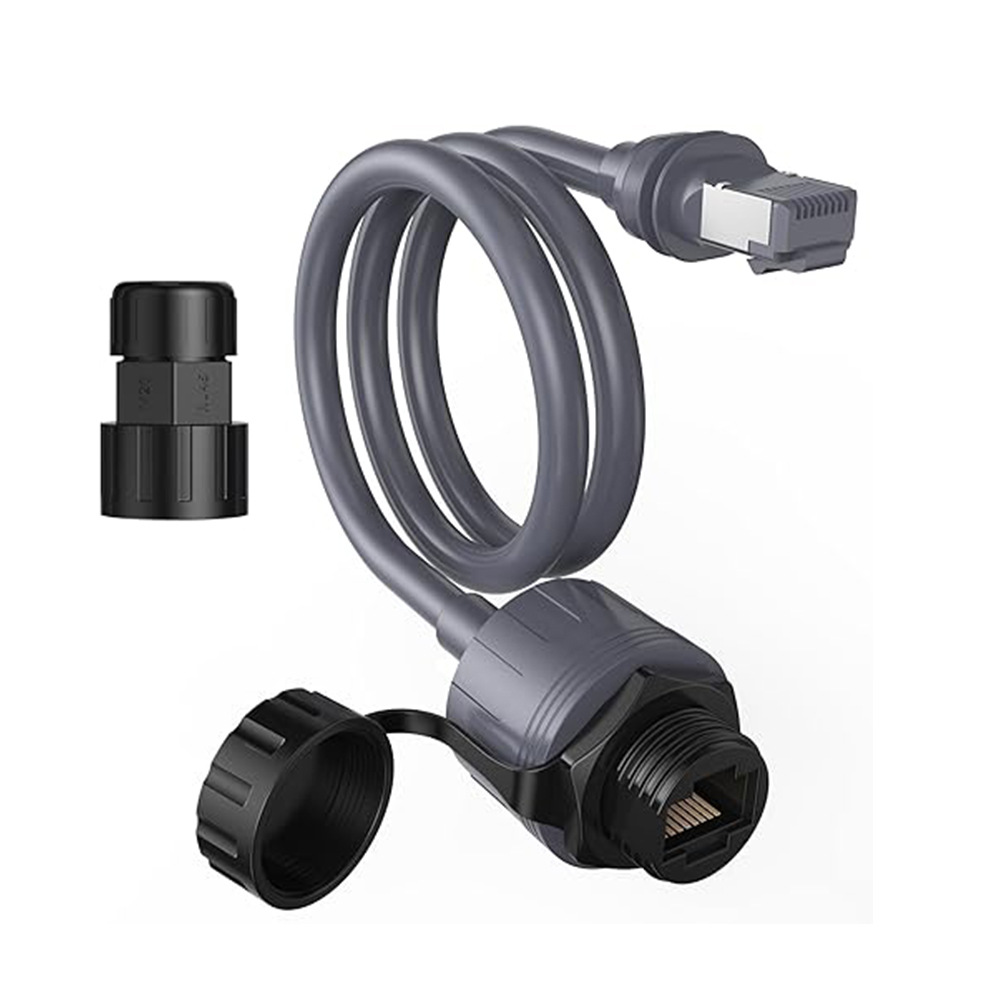
The Gen3 router is fine for Wi-Fi. For wired devices — security cameras, NAS, a fixed desktop — you have two options. Either run the 4-port Ethernet adapter (gigabit, PoE-ready, plugs into the router downlink) or the inline RJ45 conversion cable that converts the dish's SXR output directly to standard Cat6 before it hits a switch.
We recommend the 4-port adapter for most homes (cleaner, supports PoE for cameras) and the RJ45 conversion cable for installs where the Starlink router is in a hard-to-reach spot and you need to extend the run to a separate switch.
Cable management — the unsexy part
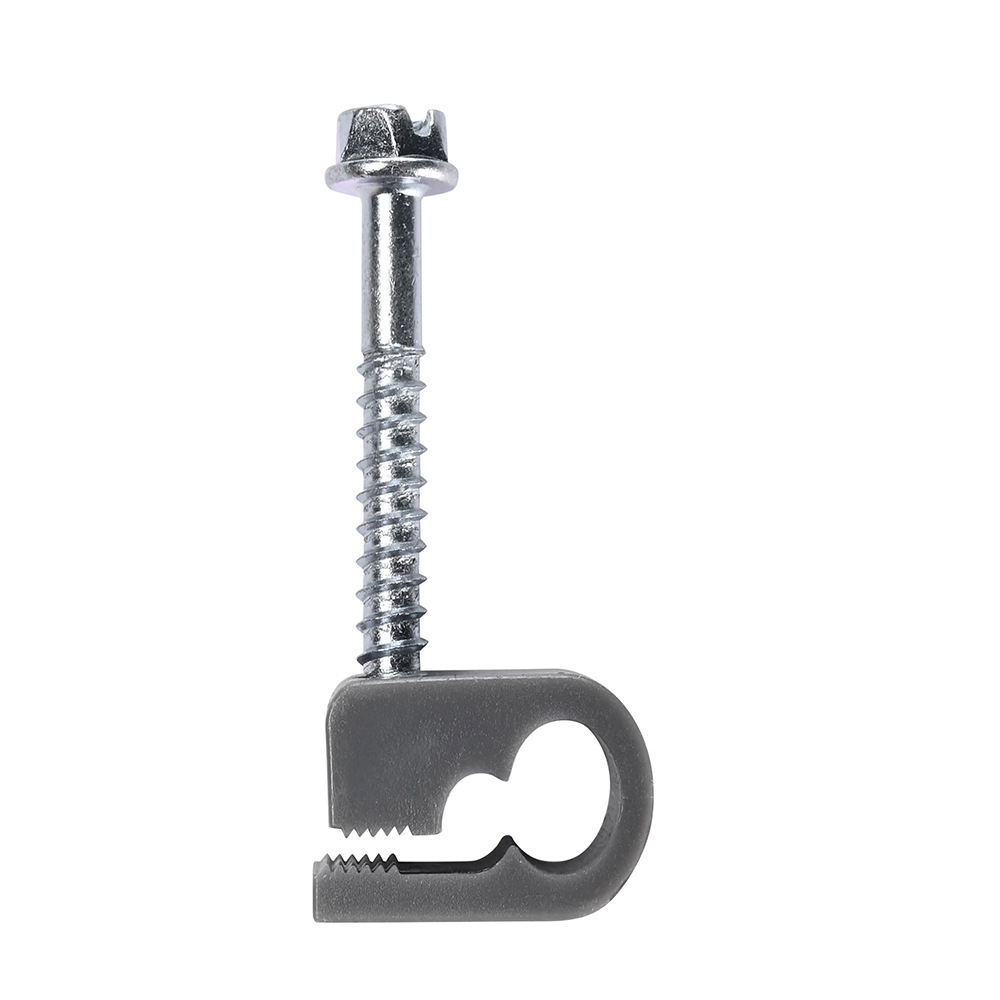
A 50 ft cable looks short until you're trying to keep it off a customer's deck. Use stainless cable clips every 12-18 inches, drip loops at every entry point, and a single waterproof gland where the cable enters the building. The clip + screw kit we sell has UV-stable nylon and 304 stainless screws — they survive coastal installs we've revisited 3 years later.
If you're routing the cable through an attic or interior wall, leave 18 inches of service loop at the dish end. When the connector eventually wears out, you'll thank past-you for not having to re-pull cable.
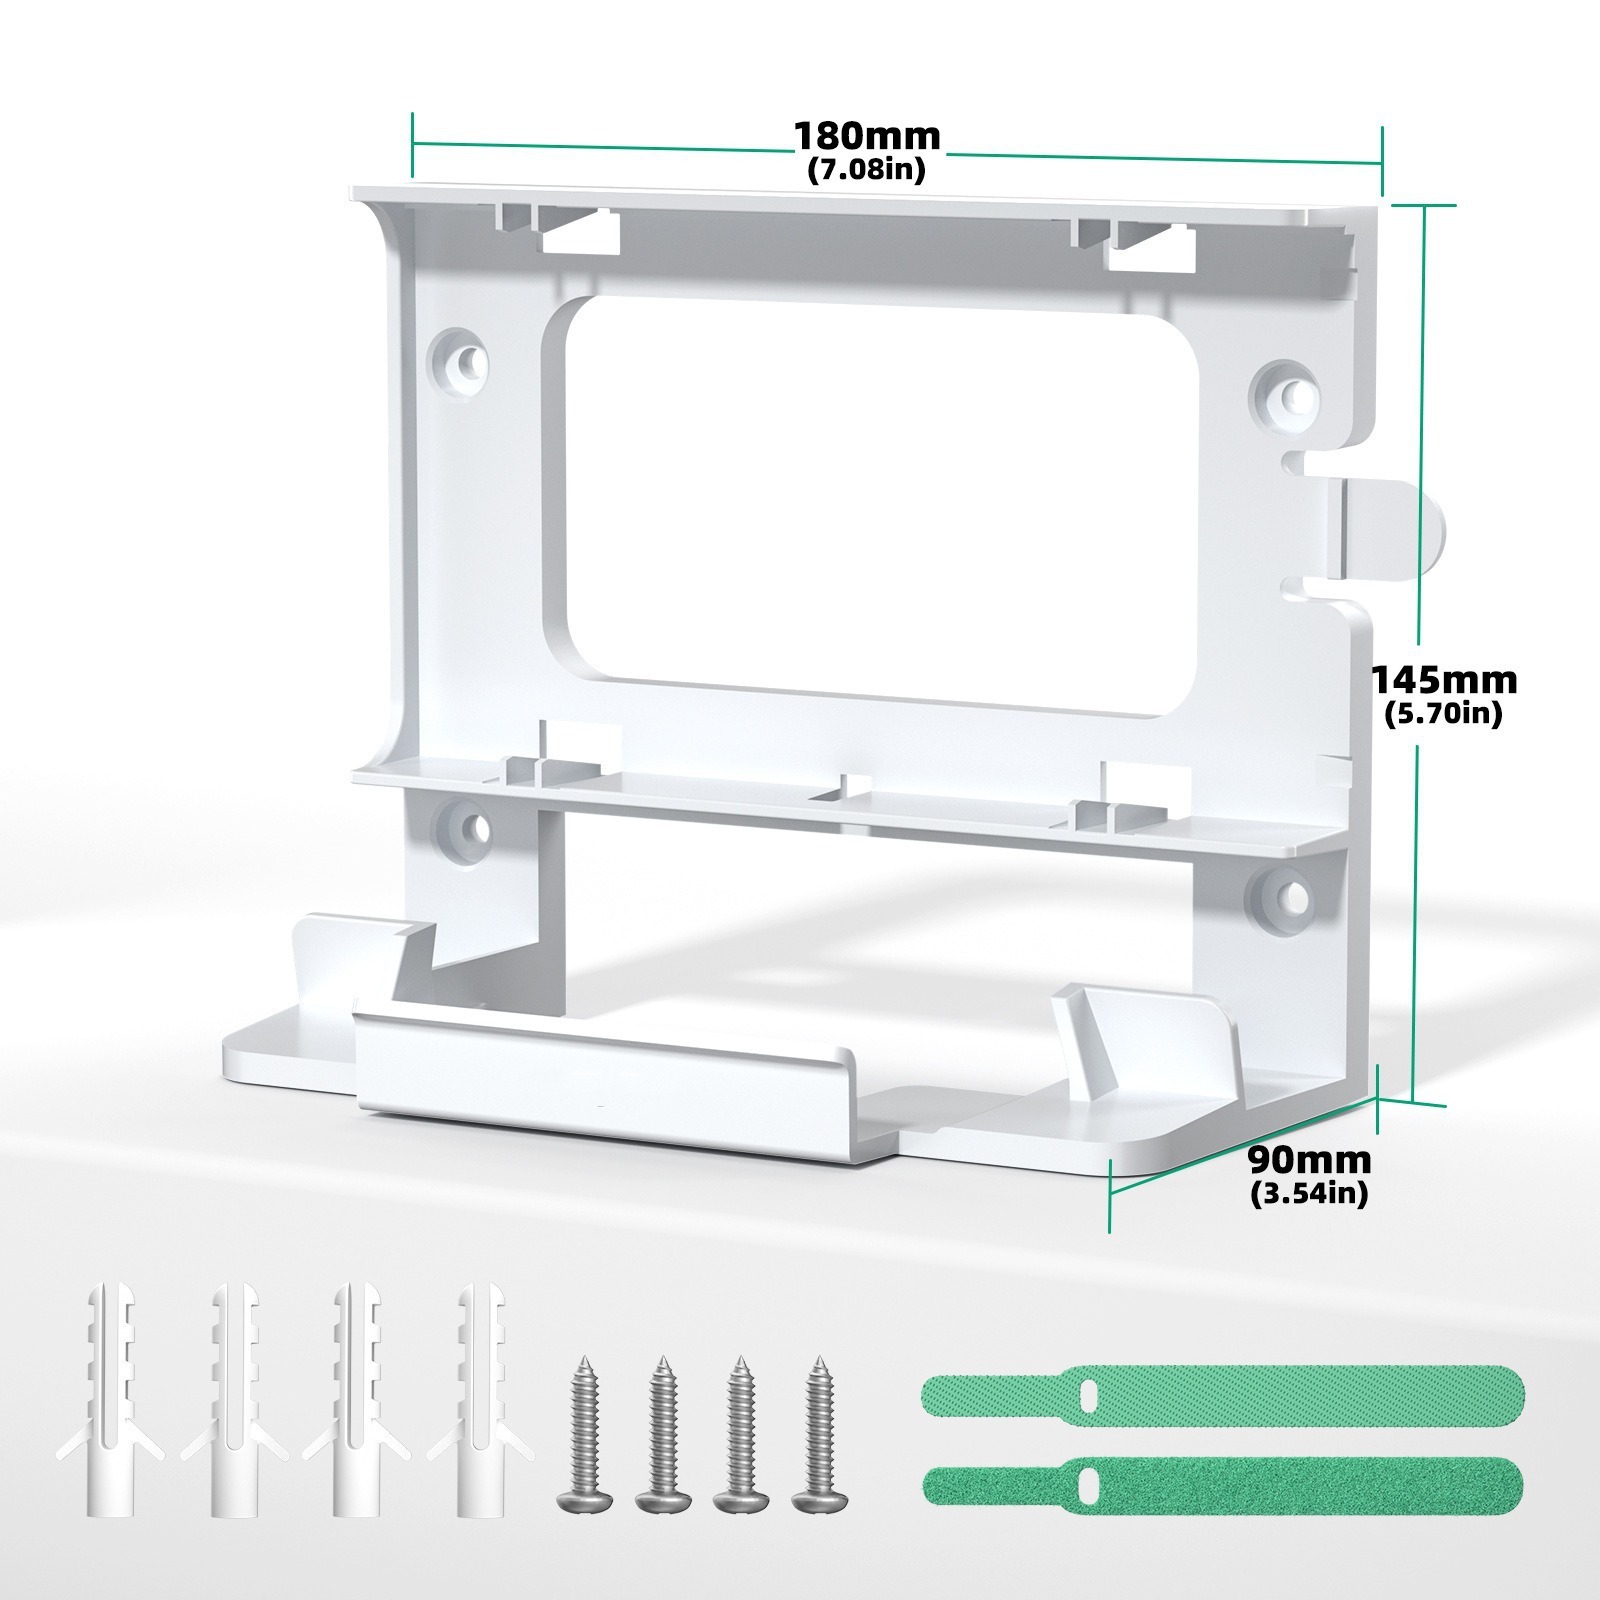
Travel case for off-season storage
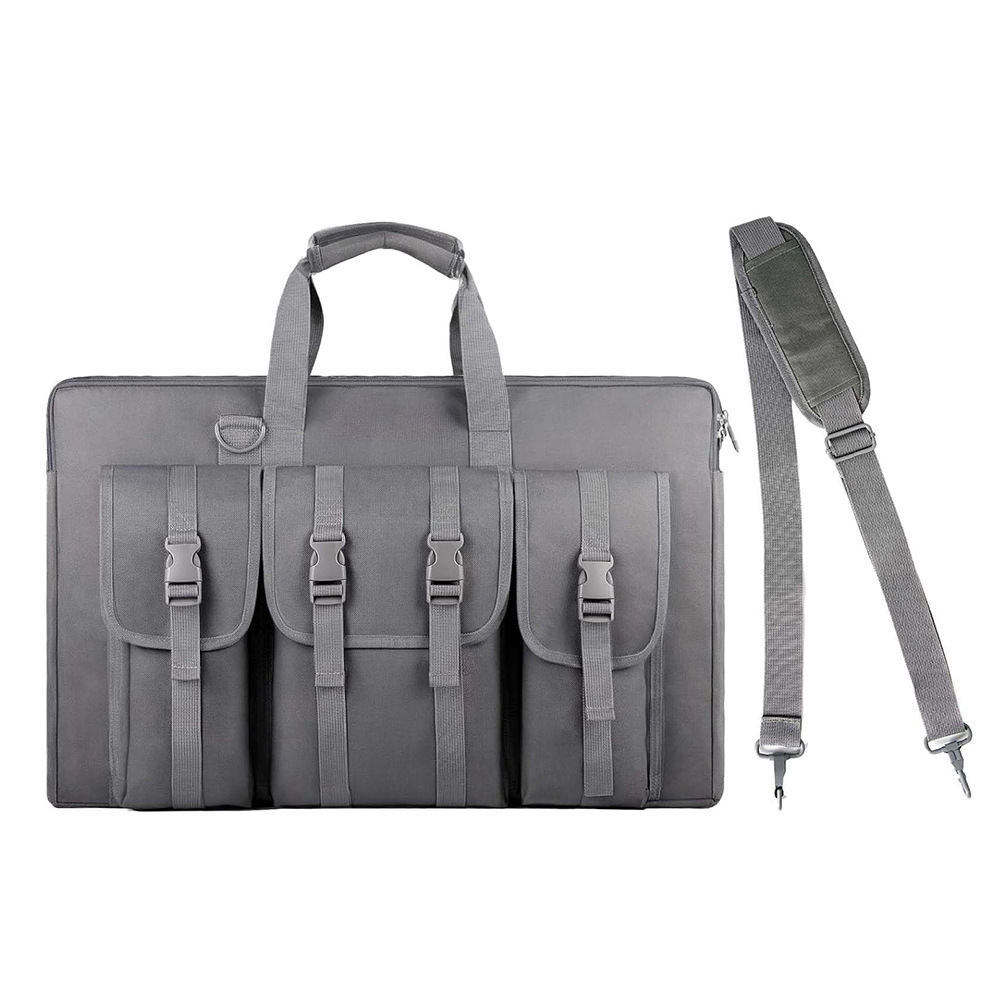
If the Gen3 comes off the roof in winter — common for cabin owners and seasonal RVers — a hard case keeps the dish flat, the cables unkinked, and the connectors dust-free. Our Gen3 case is foam-cut for the dish, the router, the cable, and the mounting hardware in one piece.
Products mentioned in this guide
Have a Starlink question this guide didn't answer?
Email [email protected] — replies within 24 hours. Or browse the full OrbitGrip catalog.
Comments & questions
Got a question about this install, a correction, or your own setup story? Drop it below — comments are auto-screened for spam and published immediately if they're clean. Genuine questions usually get a reply from us within a day.