Off-Grid Cabin Starlink — Solar, Pipe Mounts, and Cable Routing for 10+ Years
If the cabin is staying off-grid for the next decade, the install rules change. Here's the spec we use for permanent solar-powered Starlink installs.
There's a quiet but persistent trend in the customer mix: cabin builds in remote BC, Montana, Alaska, and the Maine North Woods, all asking for Starlink installs that can survive without a service visit for years at a time. These are different from RV or marine installs in one important way: the cabin owner is not coming back next month to tighten anything. Whatever you spec has to last.
This guide is the bill of materials we ship for those builds. Gen3 dish, aluminium pipe mount on the cabin's existing chimney or mast, a long replacement cable routed cleanly to the interior, and DC power off the cabin's solar array. No plastic, no zip ties, no compromises.
Why Gen3, not Mini
The Mini is great when you want portability. The Gen3 wins when the install is fixed: 2-3× the throughput, better low-elevation horizon performance (matters in tree-shadowed cabins), and a longer factory cable run. Power draw is similar enough that solar sizing isn't materially different.
If the cabin will eventually have multiple users, smart-home gear, or video backups to the cloud, the Gen3's bandwidth headroom matters. If it's a single occupant doing email + occasional video calls, Mini is sufficient — but most cabin builds we see grow into multi-user setups within 18 months.
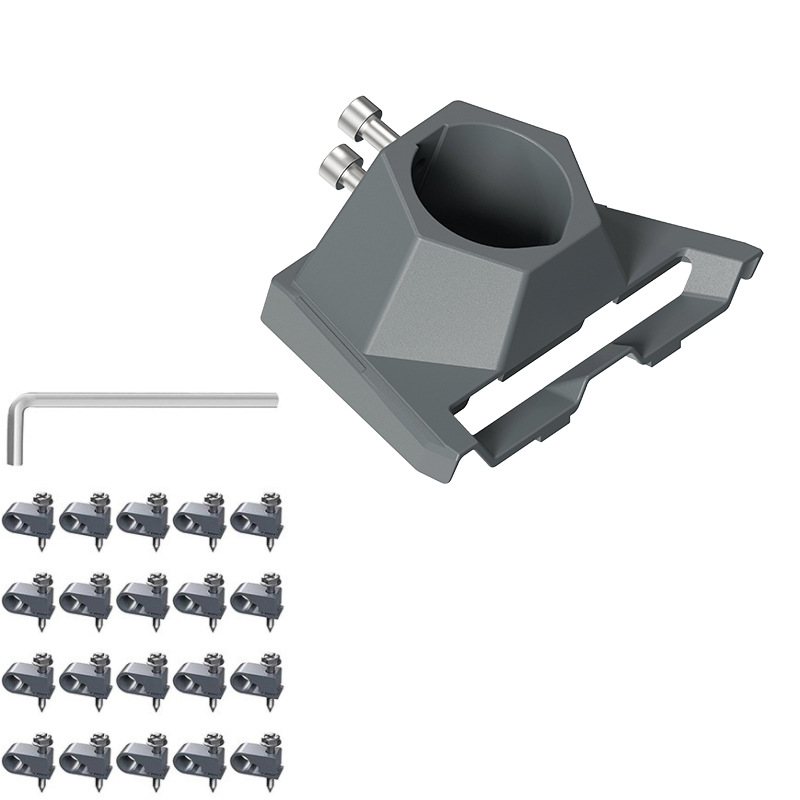
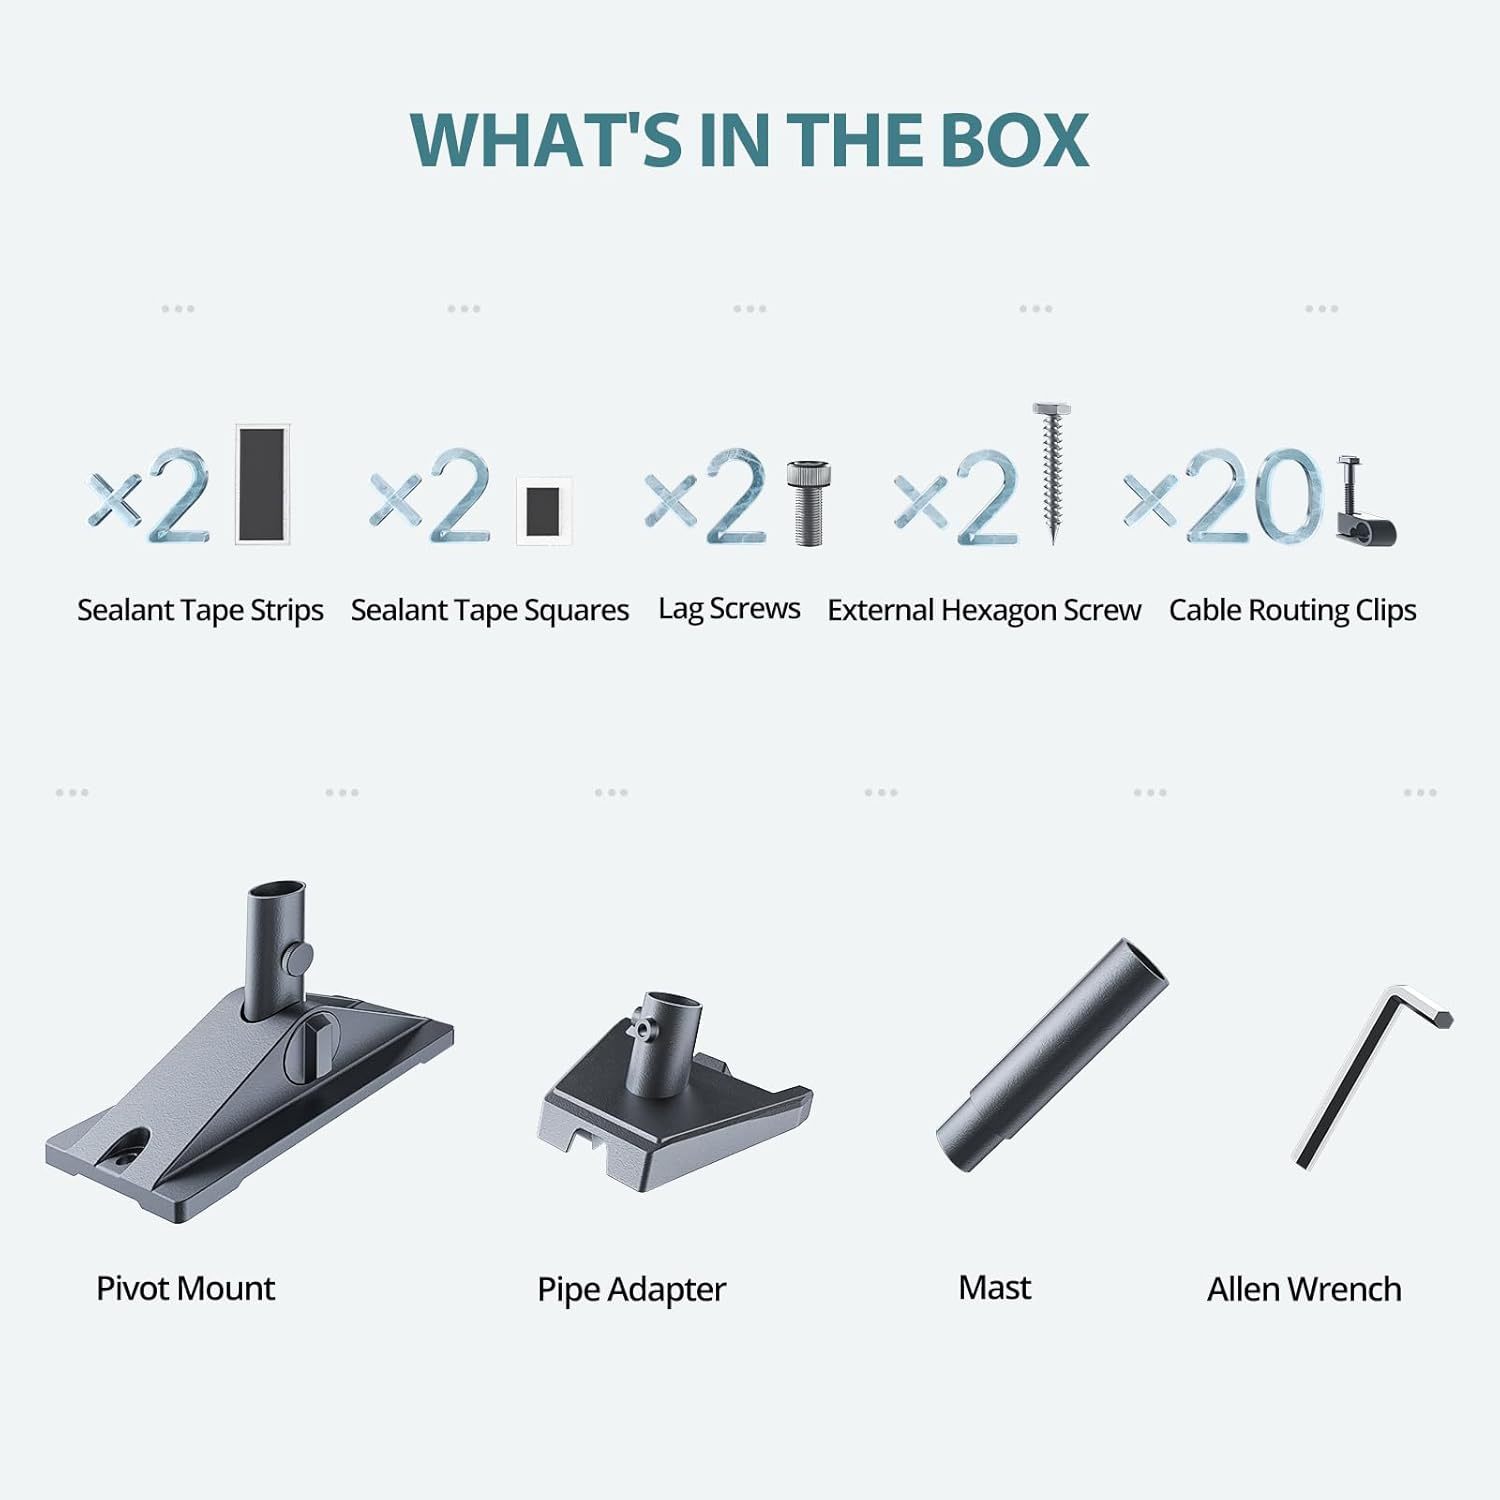
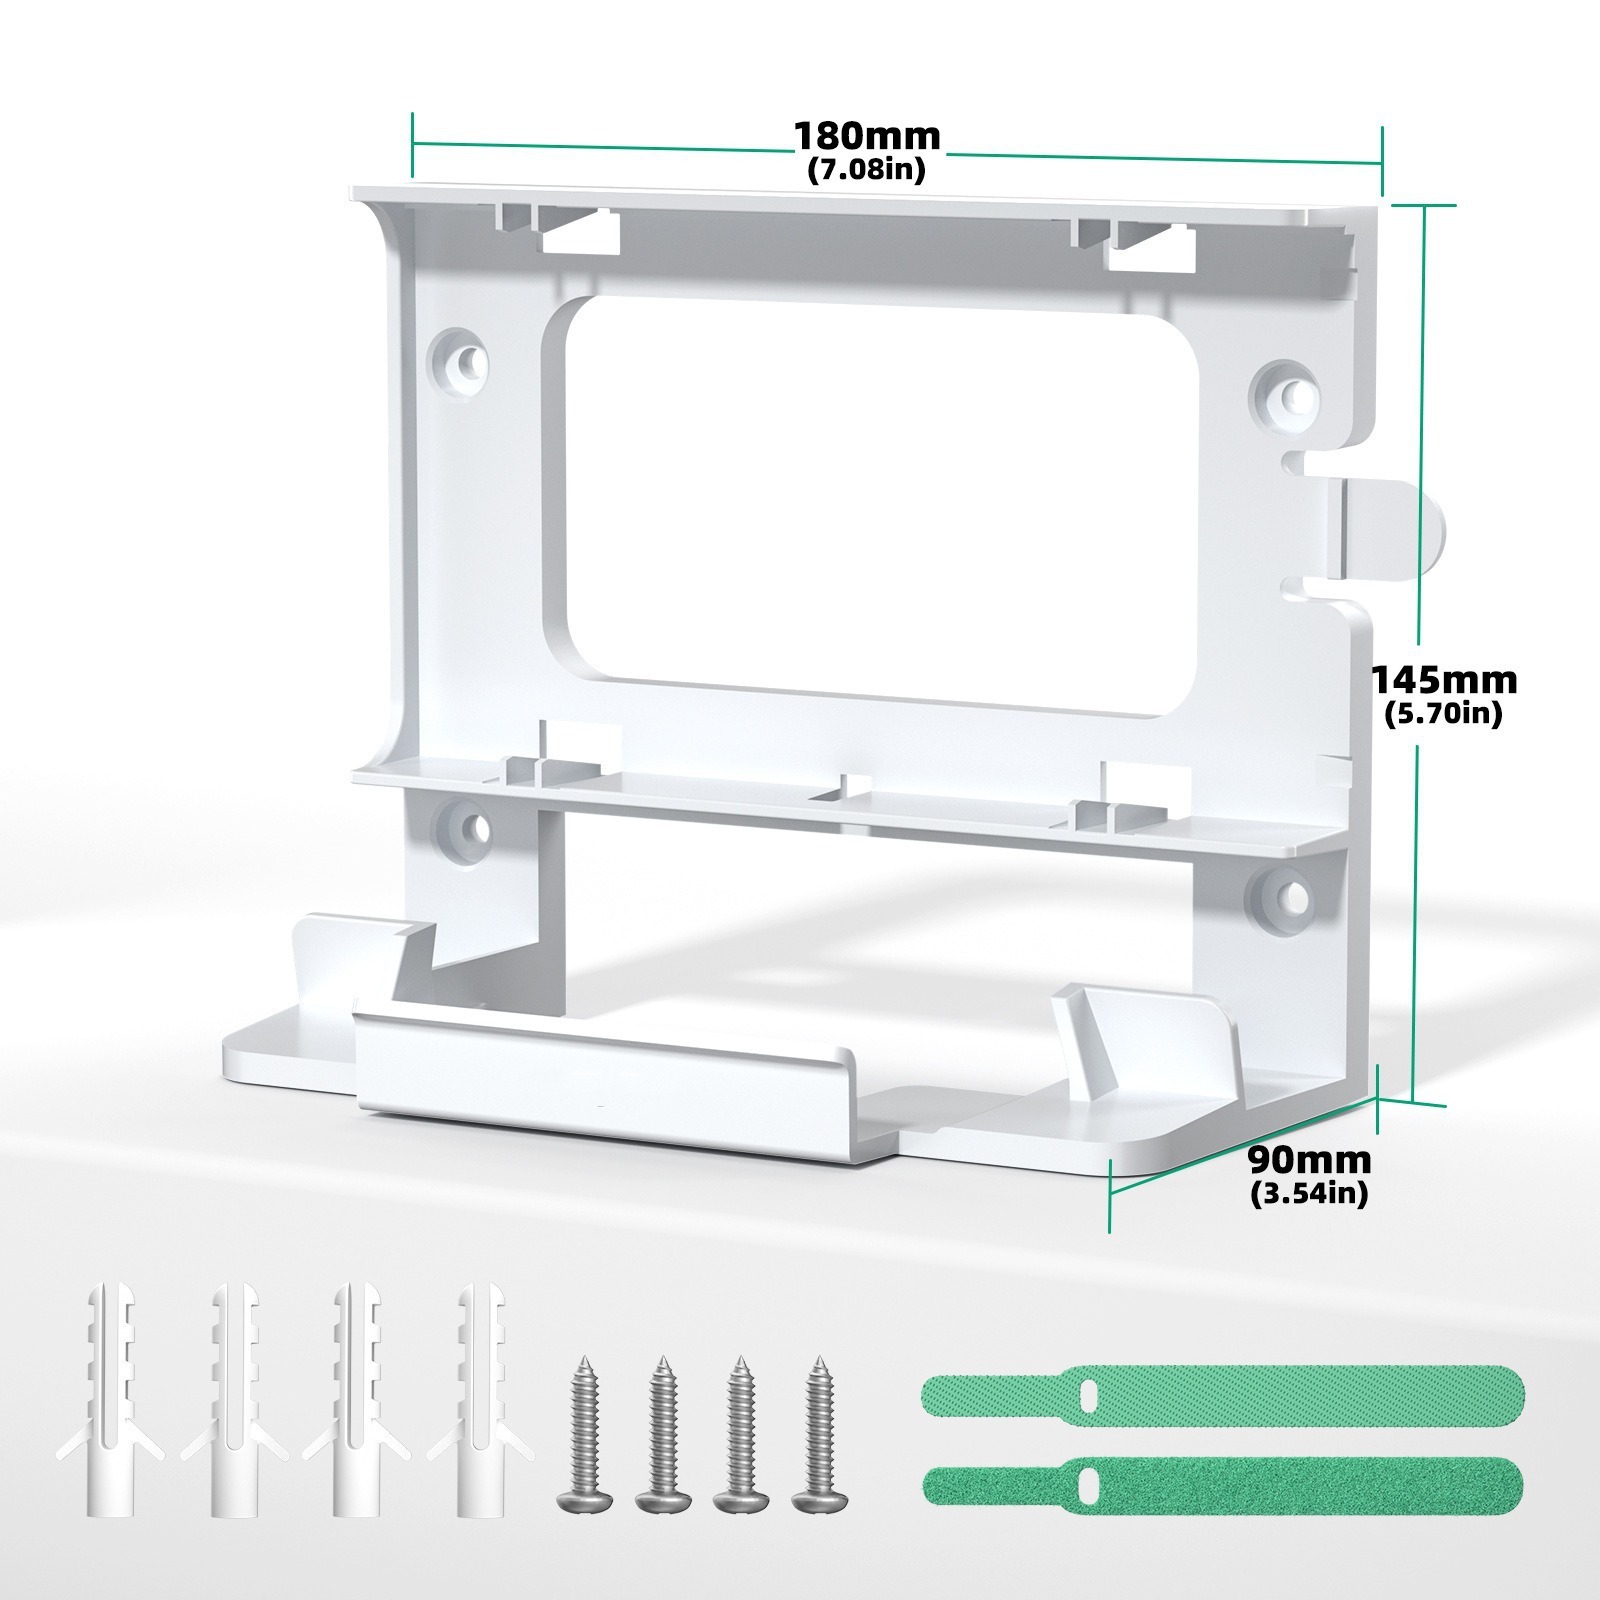
Pipe mount on an existing structure

Skip the kickstand. On a permanent install, the right answer is an aluminium pipe / pole adapter clamped to an existing vertical structure — the chimney, a TV antenna mast, or a dedicated pole. The pipe adapter has 360° azimuth adjustment so you can dial in the exact orientation Starlink's app recommends for your sky view, and the all-aluminium / 304 stainless construction needs no maintenance.
If there's no existing pole, install a 2-inch galvanised steel pipe on the south-facing eave (north-facing for southern hemisphere). 6 ft of pole costs $30 and the install is a 4-screw lag-bolt job into the rafter.
Cable routing — assume nobody's coming back

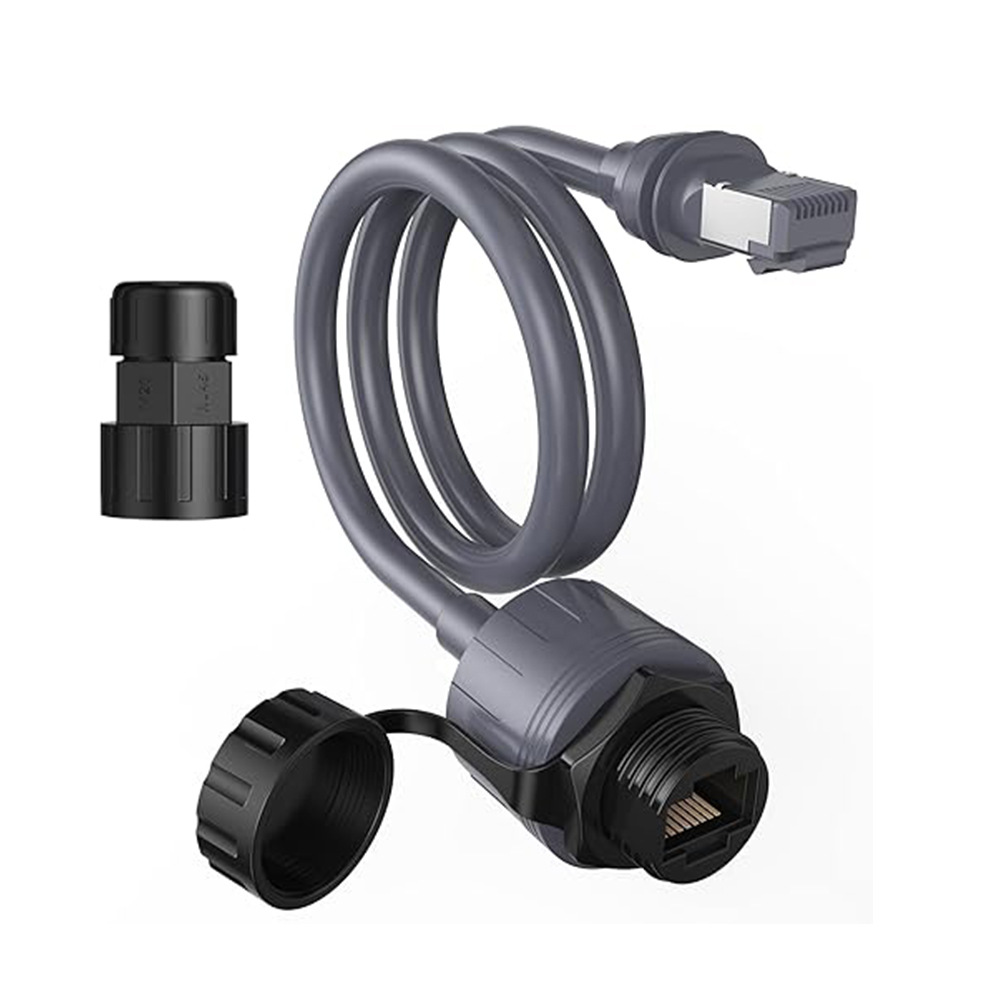
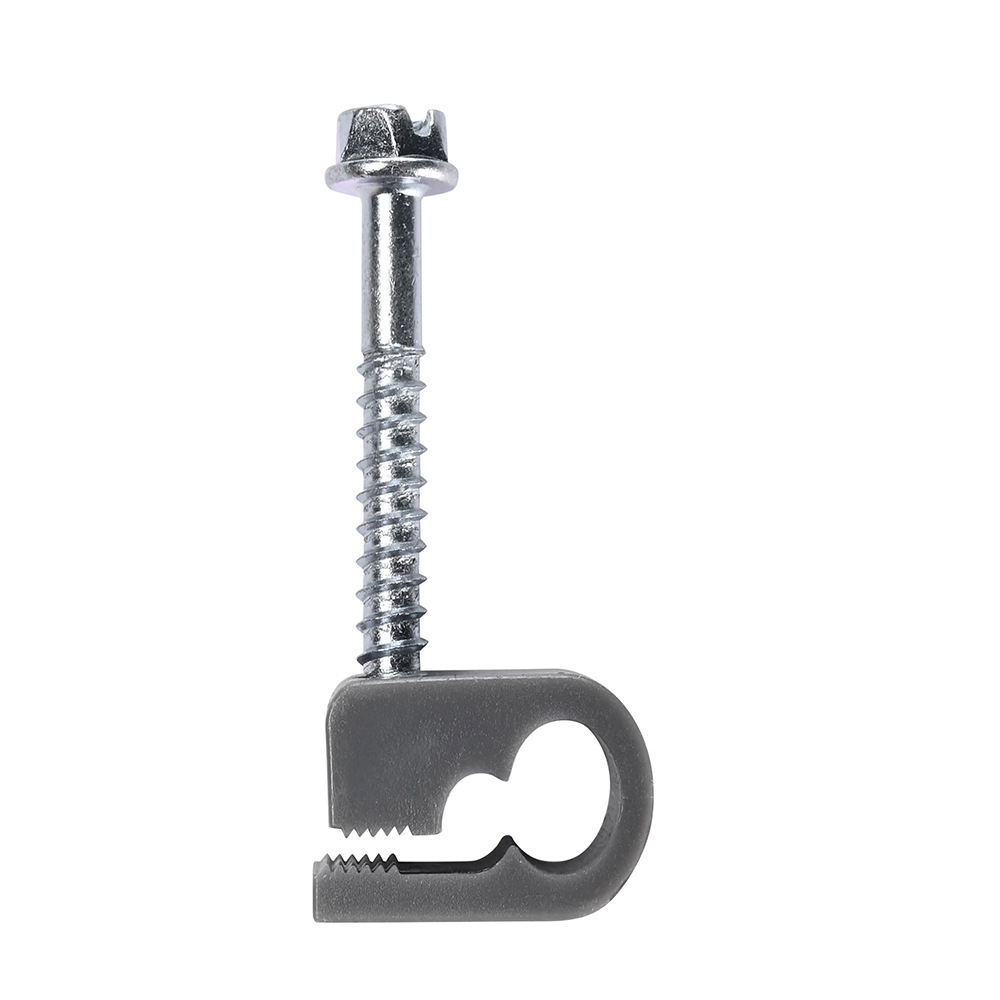
Use the longest cable that reaches with 10% slack — never tight, never patched. We default to the 25 m or 35 m factory-spec replacement for cabin installs. Run it inside conduit if you can (cheap insurance against rodents, UV, and sap drips from trees), and seal every entry point with a proper weatherproof gland.
Inside the cabin, terminate at the router with a service loop large enough to swap the connector without re-pulling cable — 18 inches minimum. Label the cable on both ends with the date and length; the next person to touch this install will thank you.

Solar sizing for Starlink-only loads
A Gen3 dish + router pulls 50-75 W under typical use. For a 24-hour duty cycle that's roughly 1.5 kWh/day. With northern cabin solar yields (3-4 sun-hours in winter) you need ~500 W of panels and a 200 Ah lithium battery to run Starlink continuously without grid backup.
If the cabin is also running lights, a fridge, or other loads, size the array for the total load — Starlink alone is rarely the limiting factor. Most cabin owners we work with have 1-1.5 kW arrays and 300-400 Ah batteries; Starlink is a 5-7% draw on that.
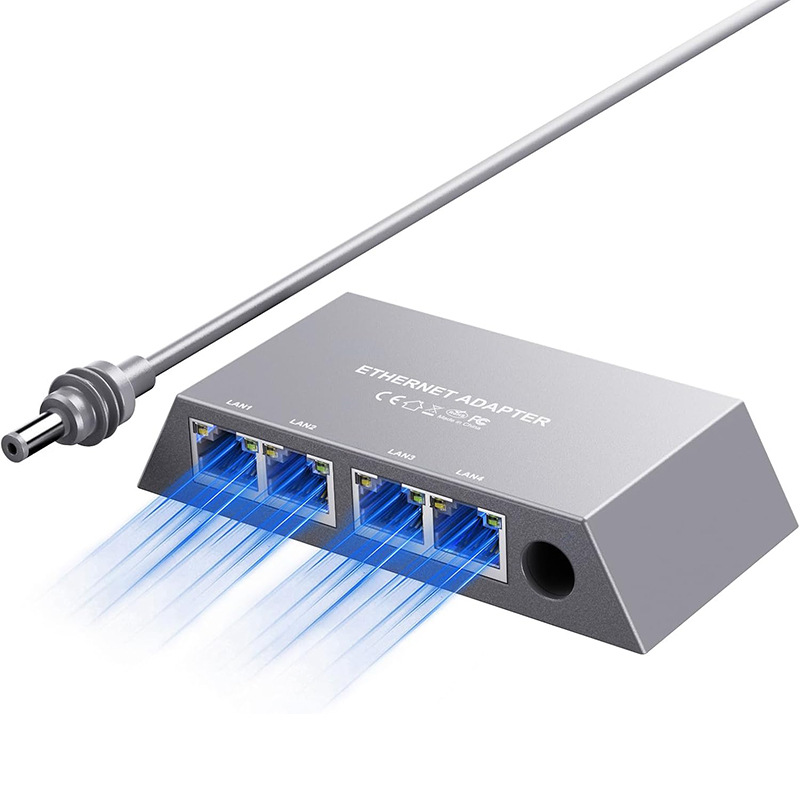
Multi-user wired backbone
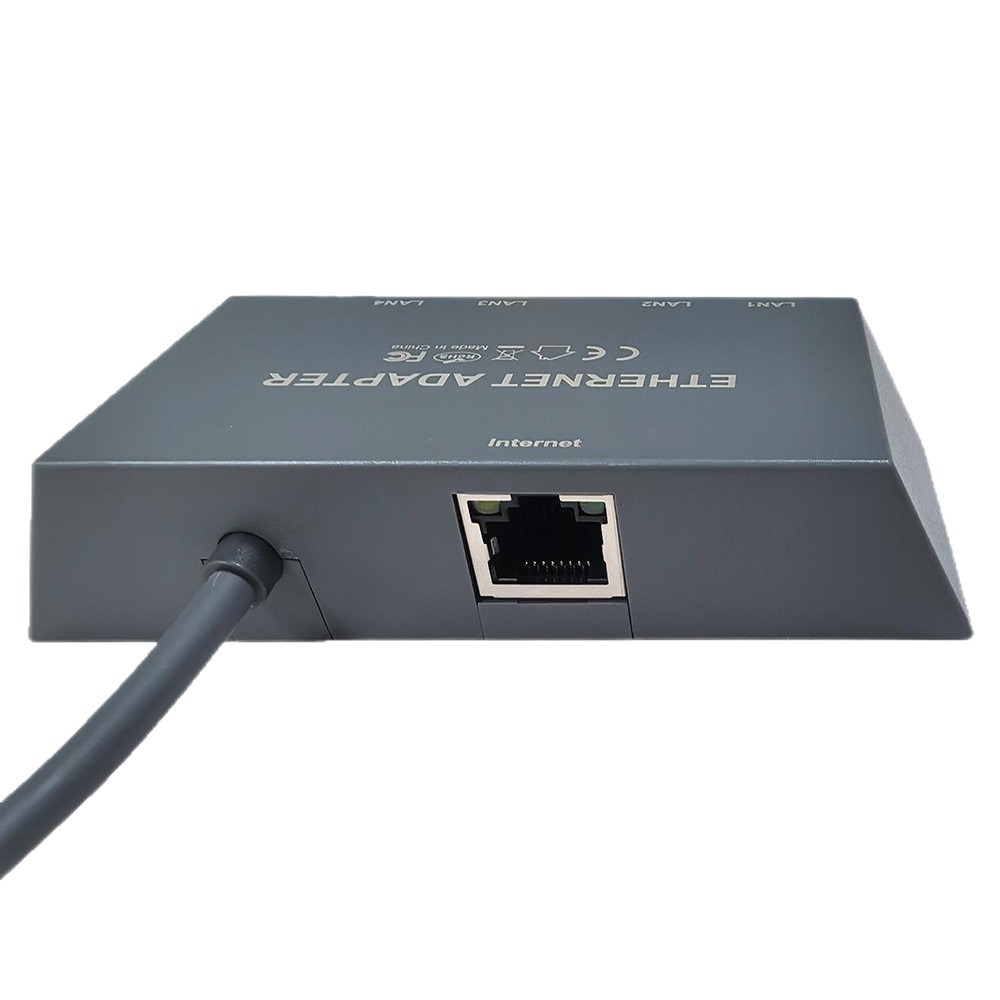
Most cabin builds we touch end up with at least one wired device — security camera, NAS, a wired AP for the loft. The Gen3 4-port adapter is the cleanest path: plugs into the router downlink, gives you four gigabit ports + PoE for cameras, and stays cleanly in the equipment closet.
Products mentioned in this guide

Have a Starlink question this guide didn't answer?
Email [email protected] — replies within 24 hours. Or browse the full OrbitGrip catalog.
Comments & questions
Got a question about this install, a correction, or your own setup story? Drop it below — comments are auto-screened for spam and published immediately if they're clean. Genuine questions usually get a reply from us within a day.